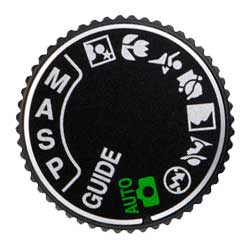
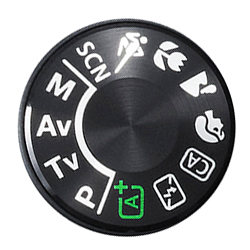
Most cameras support a standard set of exposure modes that are used for shooting various subjects.
Professional DSLR cameras provide four standard manual modes:
1. Program
2. Shutter-priority
3. Aperture-priority
4. Manual
The exposure modes determine how the camera sets the shutter speed and aperture for the exposure and are selected from an exposure mode dial, or can be cycled through using a “Mode” button, depending on the camera model.
For Nikon users, they are typically labelled P, S, A and M.
Alternatively, if you’re a Canon user, they are labelled P, Tv, Av and M.
The shooting mode you choose affects the control you have over the aperture and shutter speed settings.
Program Mode
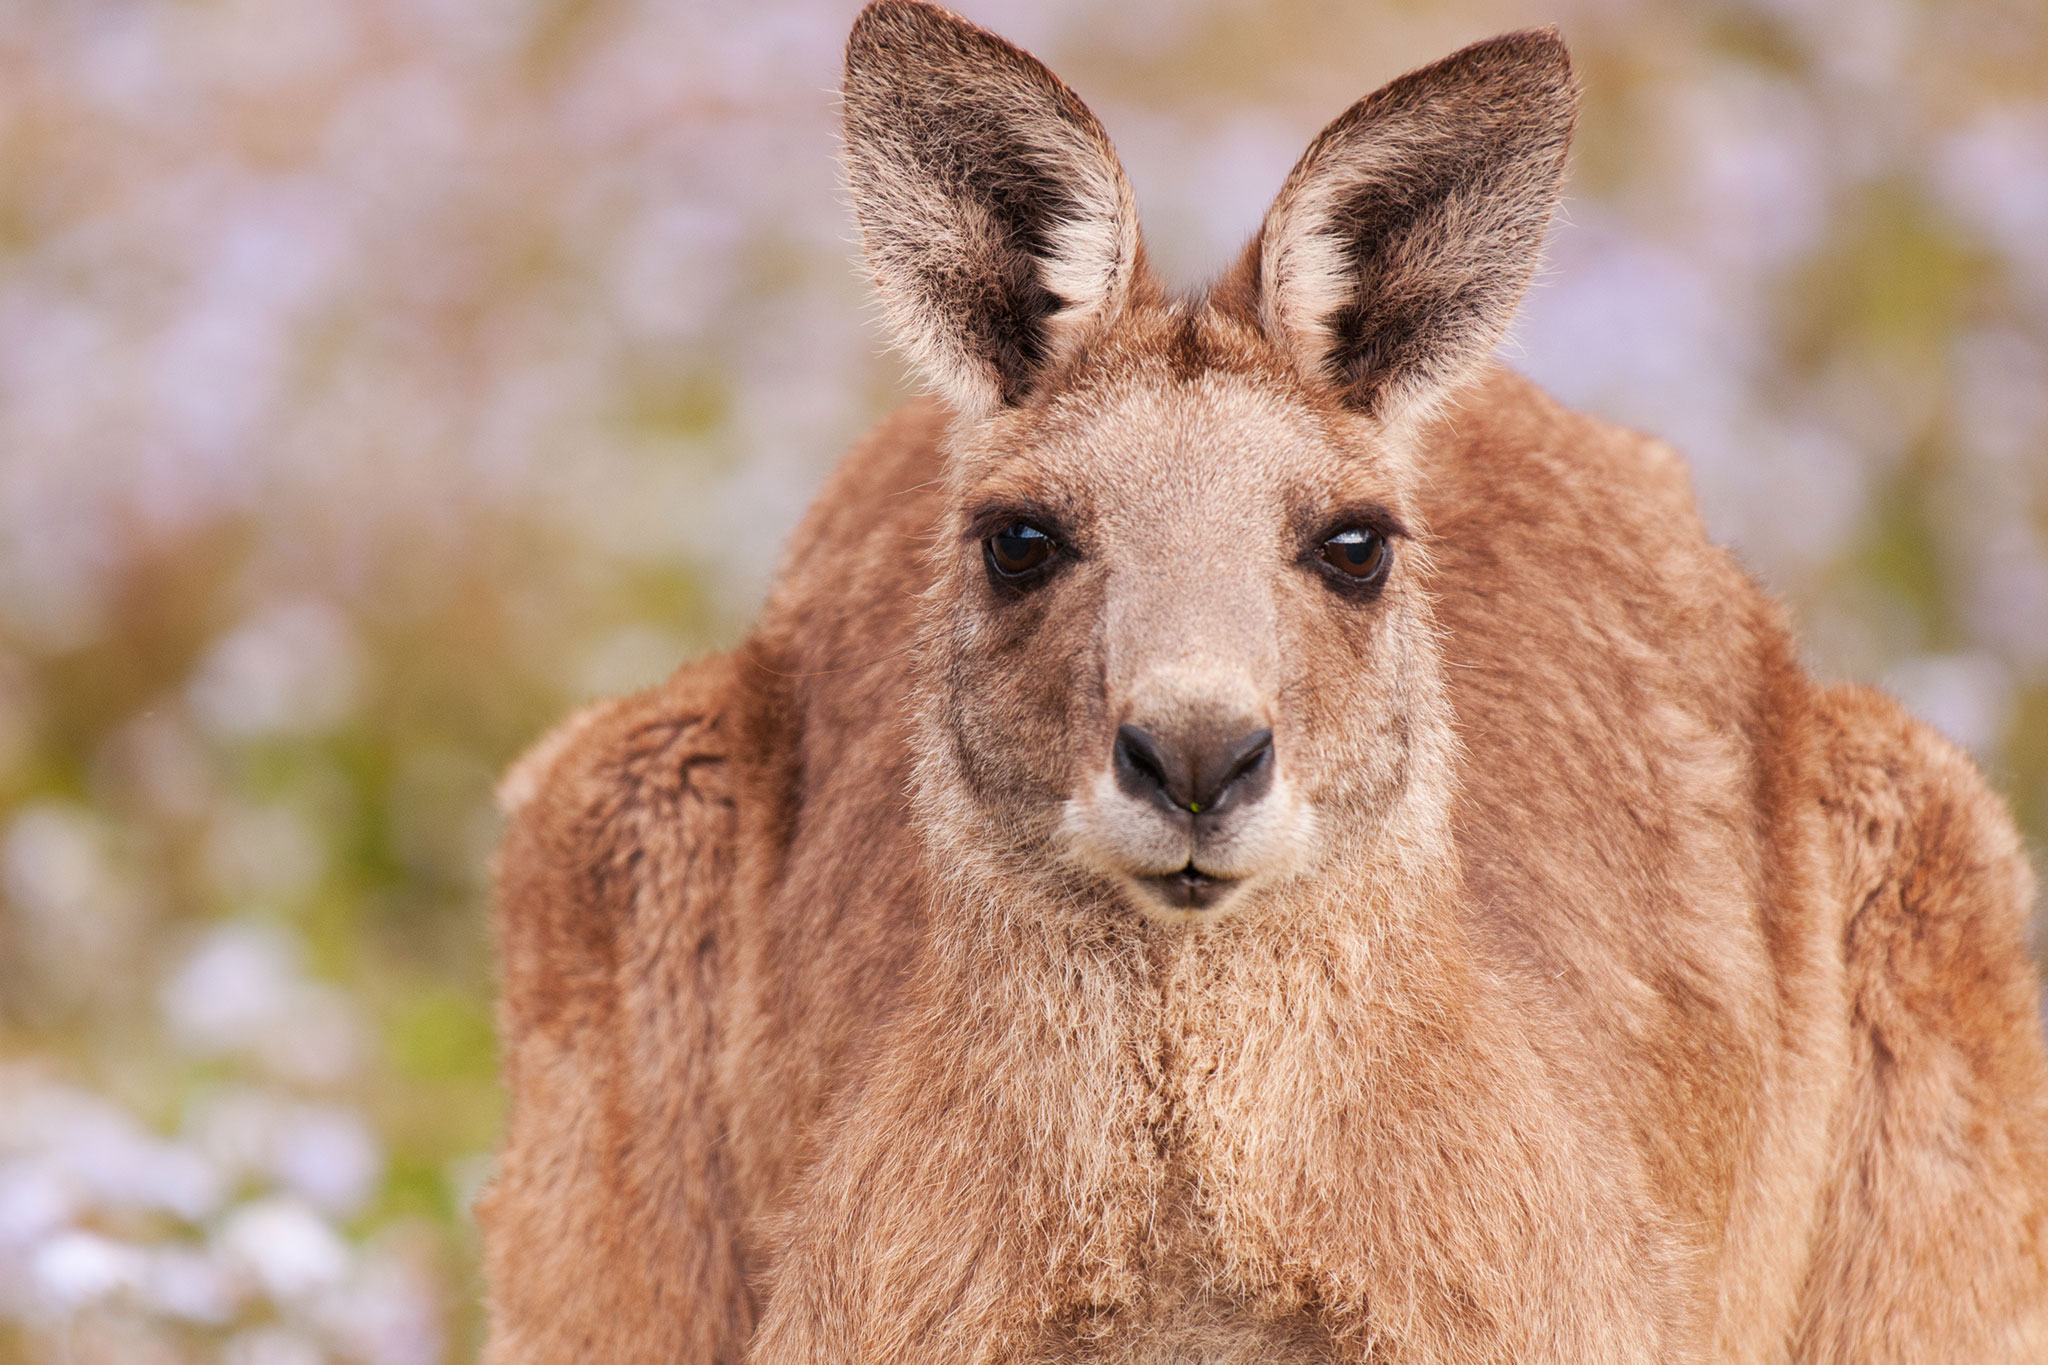
Program
Nikon D300S, Nikon AF-S Nikkor 200-500mm f/5.6E ED VR AF-S at 500mm – ISO 252, f/5.6, 1/250 sec.
In Program mode, the camera automatically sets the shutter speed and aperture for the optimal exposure.
Set your camera to program mode by selecting P on your camera.
Program is an automatic exposure setting that is recommended in situations where there is limited time to adjust camera settings.
The difference between a Program and Full Auto mode is that in Program, the exposure is automatically set, but the other camera settings are set manually and still fully adjustable, whereas in Full Auto everything is automatic.
Shutter Mode
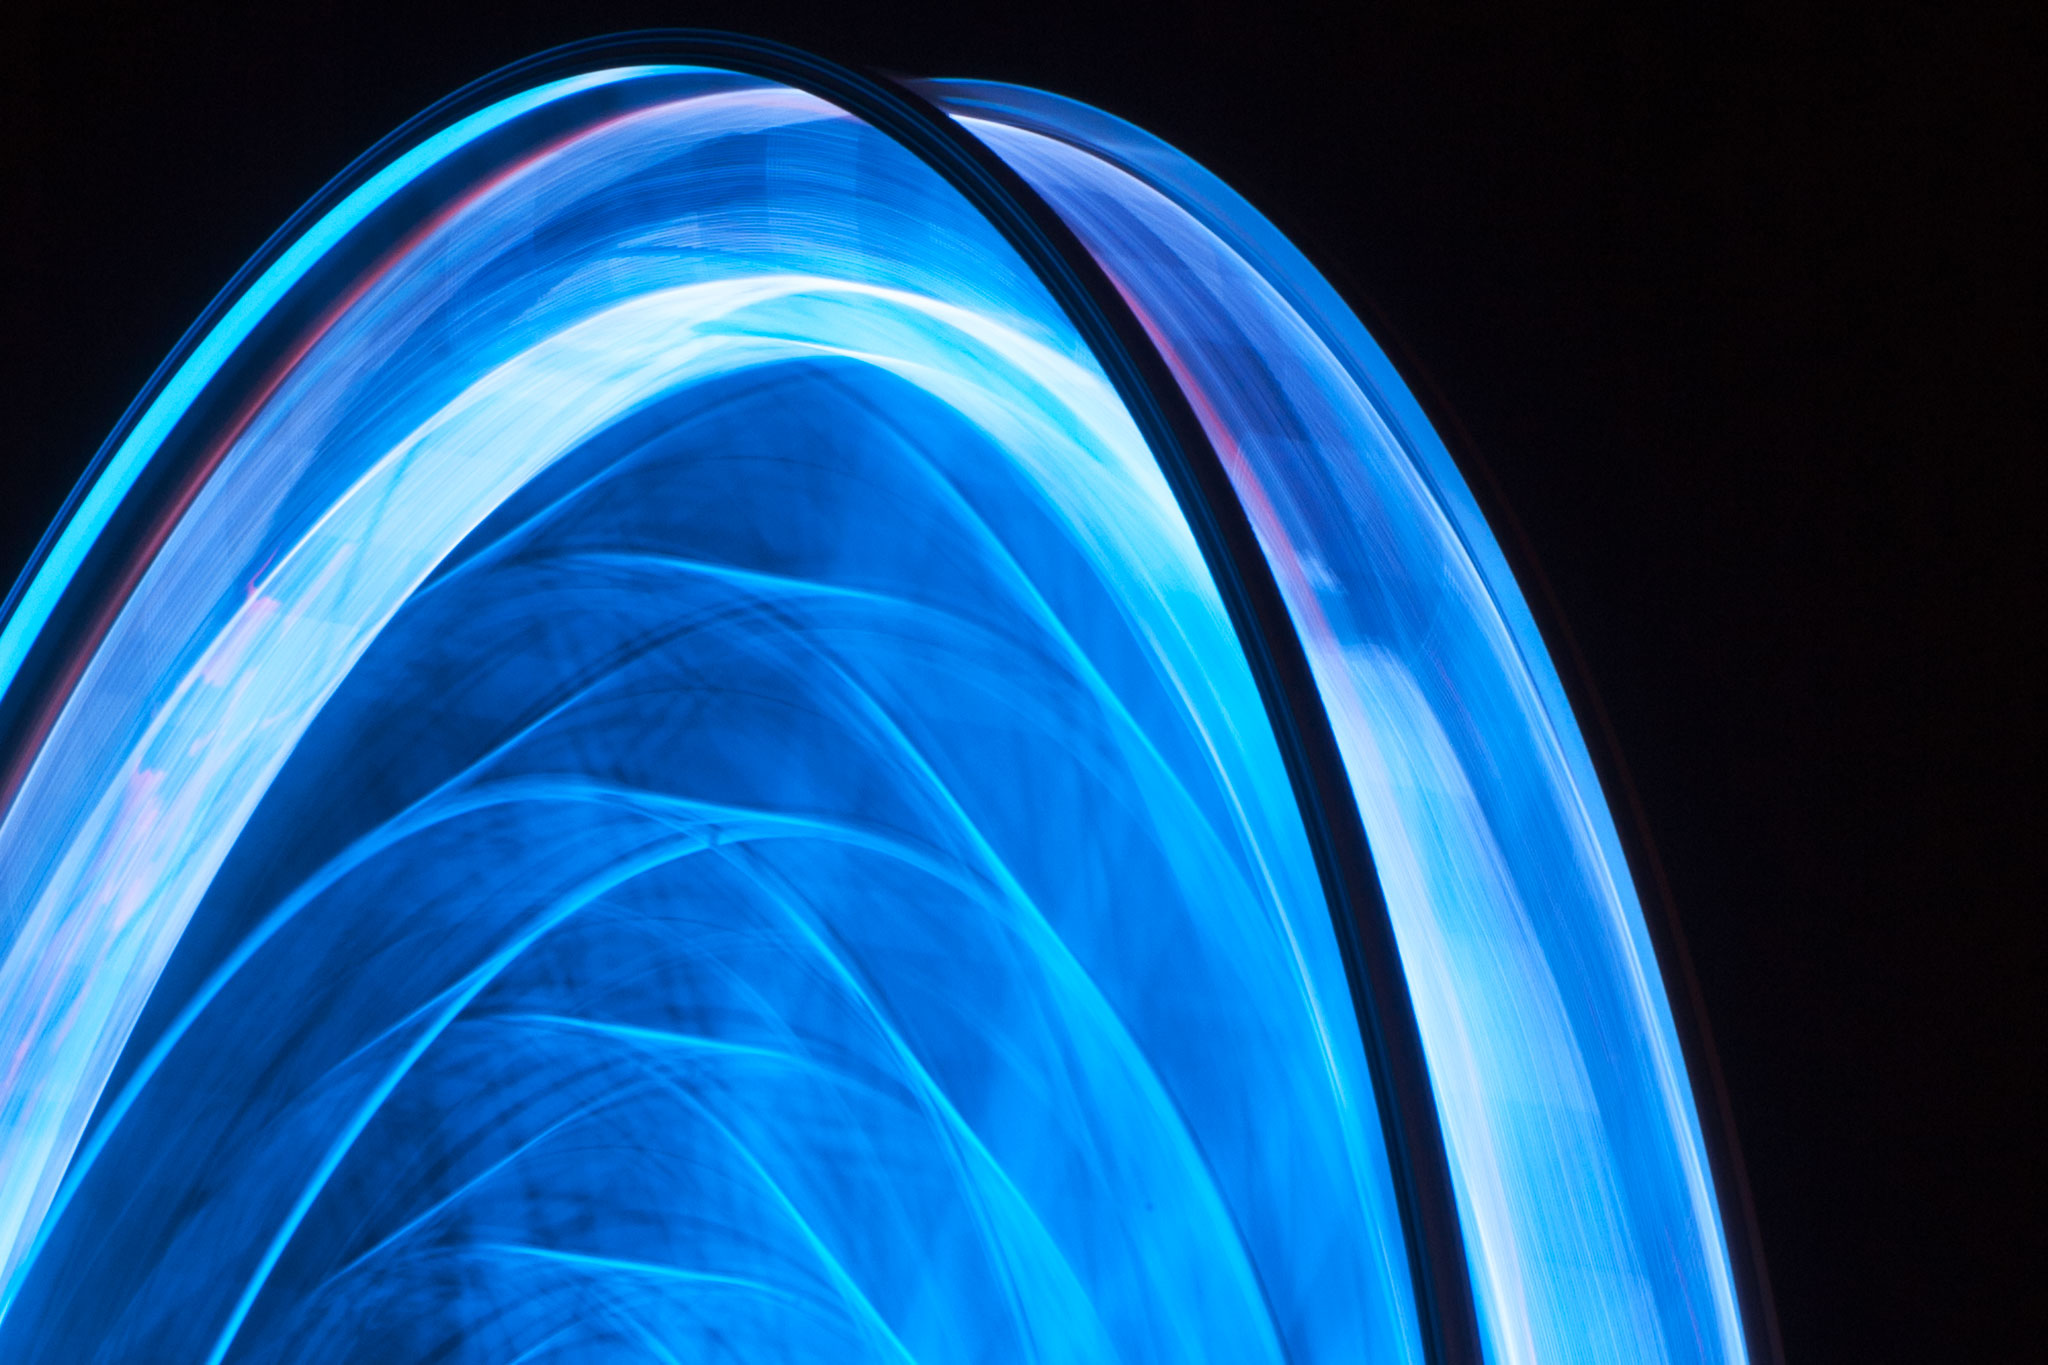
Shutter
Nikon D70, Nikon AF-S Nikkor 70-300mm f/4-5.6D at 105mm – ISO 200, f/36, 13 sec.
In Shutter-Priority or Time value mode, the user selects the shutter speed and the camera automatically sets the aperture for the optimal exposure.
Set your camera to Shutter-Priority mode by selecting S or Tv on your camera.
Shutter-Priority is an automatic exposure setting that is recommended to freeze or blur motion.
Shutter-Priority mode can be used whenever you want to control the shutter speed.
A faster shutter speed can freeze the action of a moving subject. For example, use shutter mode and select a fast shutter speed for capturing moving objects, such as sports or flying birds to freeze the action.
A slower shutter speed can create a blurred effect that gives the impression of motion. For example, use shutter mode and select a slow shutter speed for capturing movement of subjects as blur, such as a waterfall or fireworks.
Aperture Mode
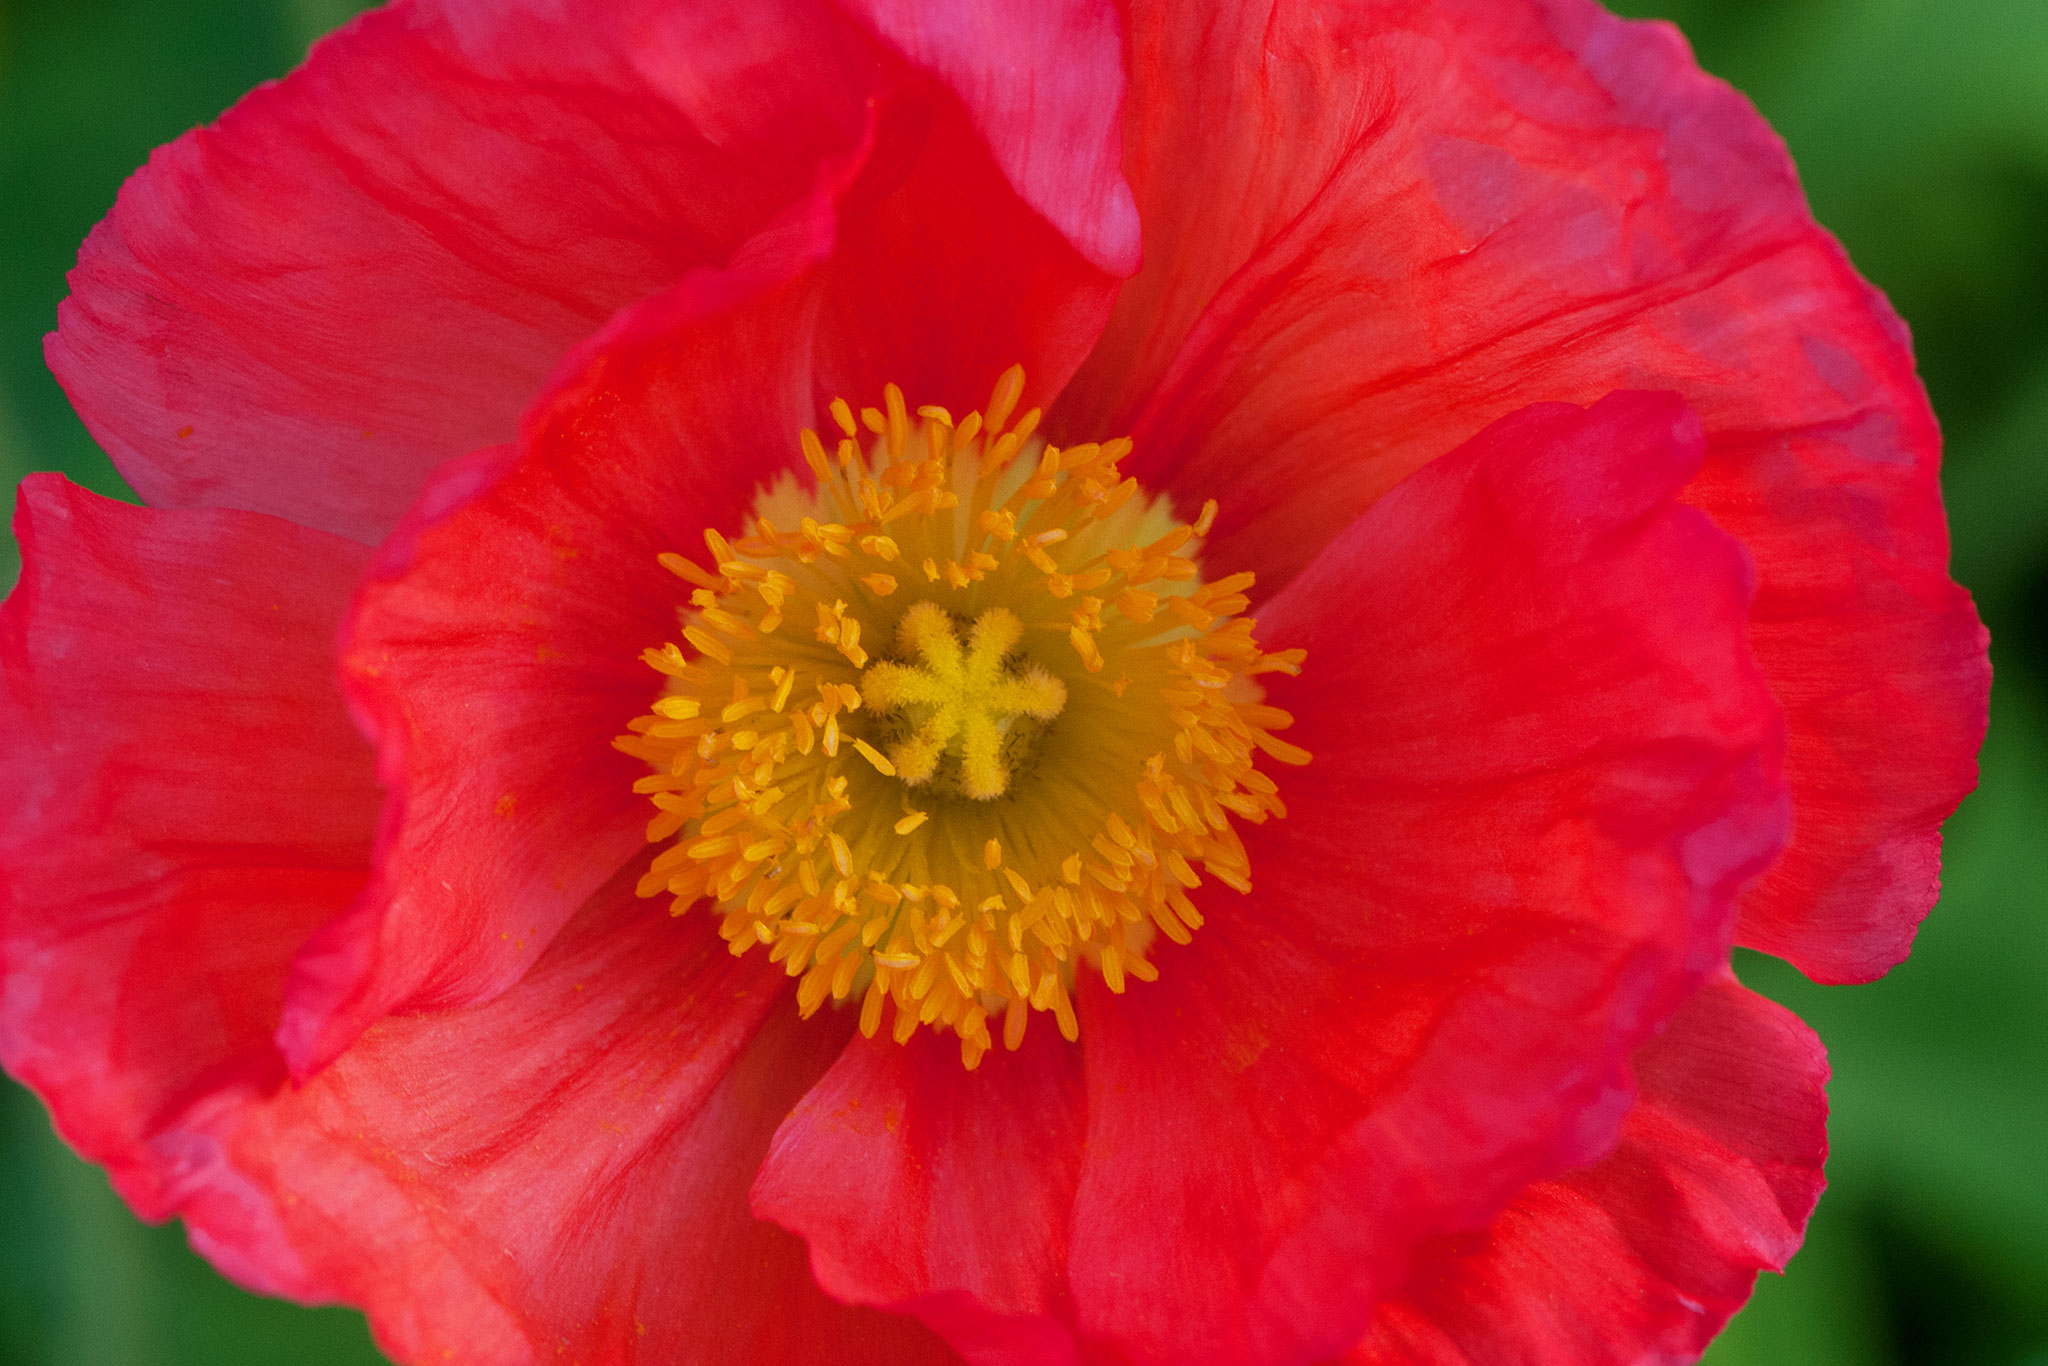
Aperture
Nikon D300S, Nikon AF-S VR Micro Nikkor 105mm f/2.8G IF-ED – ISO 400, f/8, 1/160 sec.
In Aperture-Priority or Aperture value mode, the user selects the aperture and the camera automatically sets the shutter speed for the optimal exposure.
Set your camera to Aperture-Priority mode by selecting A or Av on your camera.
Aperture-Priority is an automatic exposure setting that is recommended to blur the background in portraits and to bring both the foreground and background into focus in landscape shots.
Aperture-Priority mode can be used whenever you want to control how much of the scene is in focus.
A higher f/number (smaller aperture) will make more of the foreground and background fall into focus and give a wider depth of field.
A lower f/number (larger aperture) will make less of the foreground and background fall into focus and give more shallow depth of field.
Manual Mode
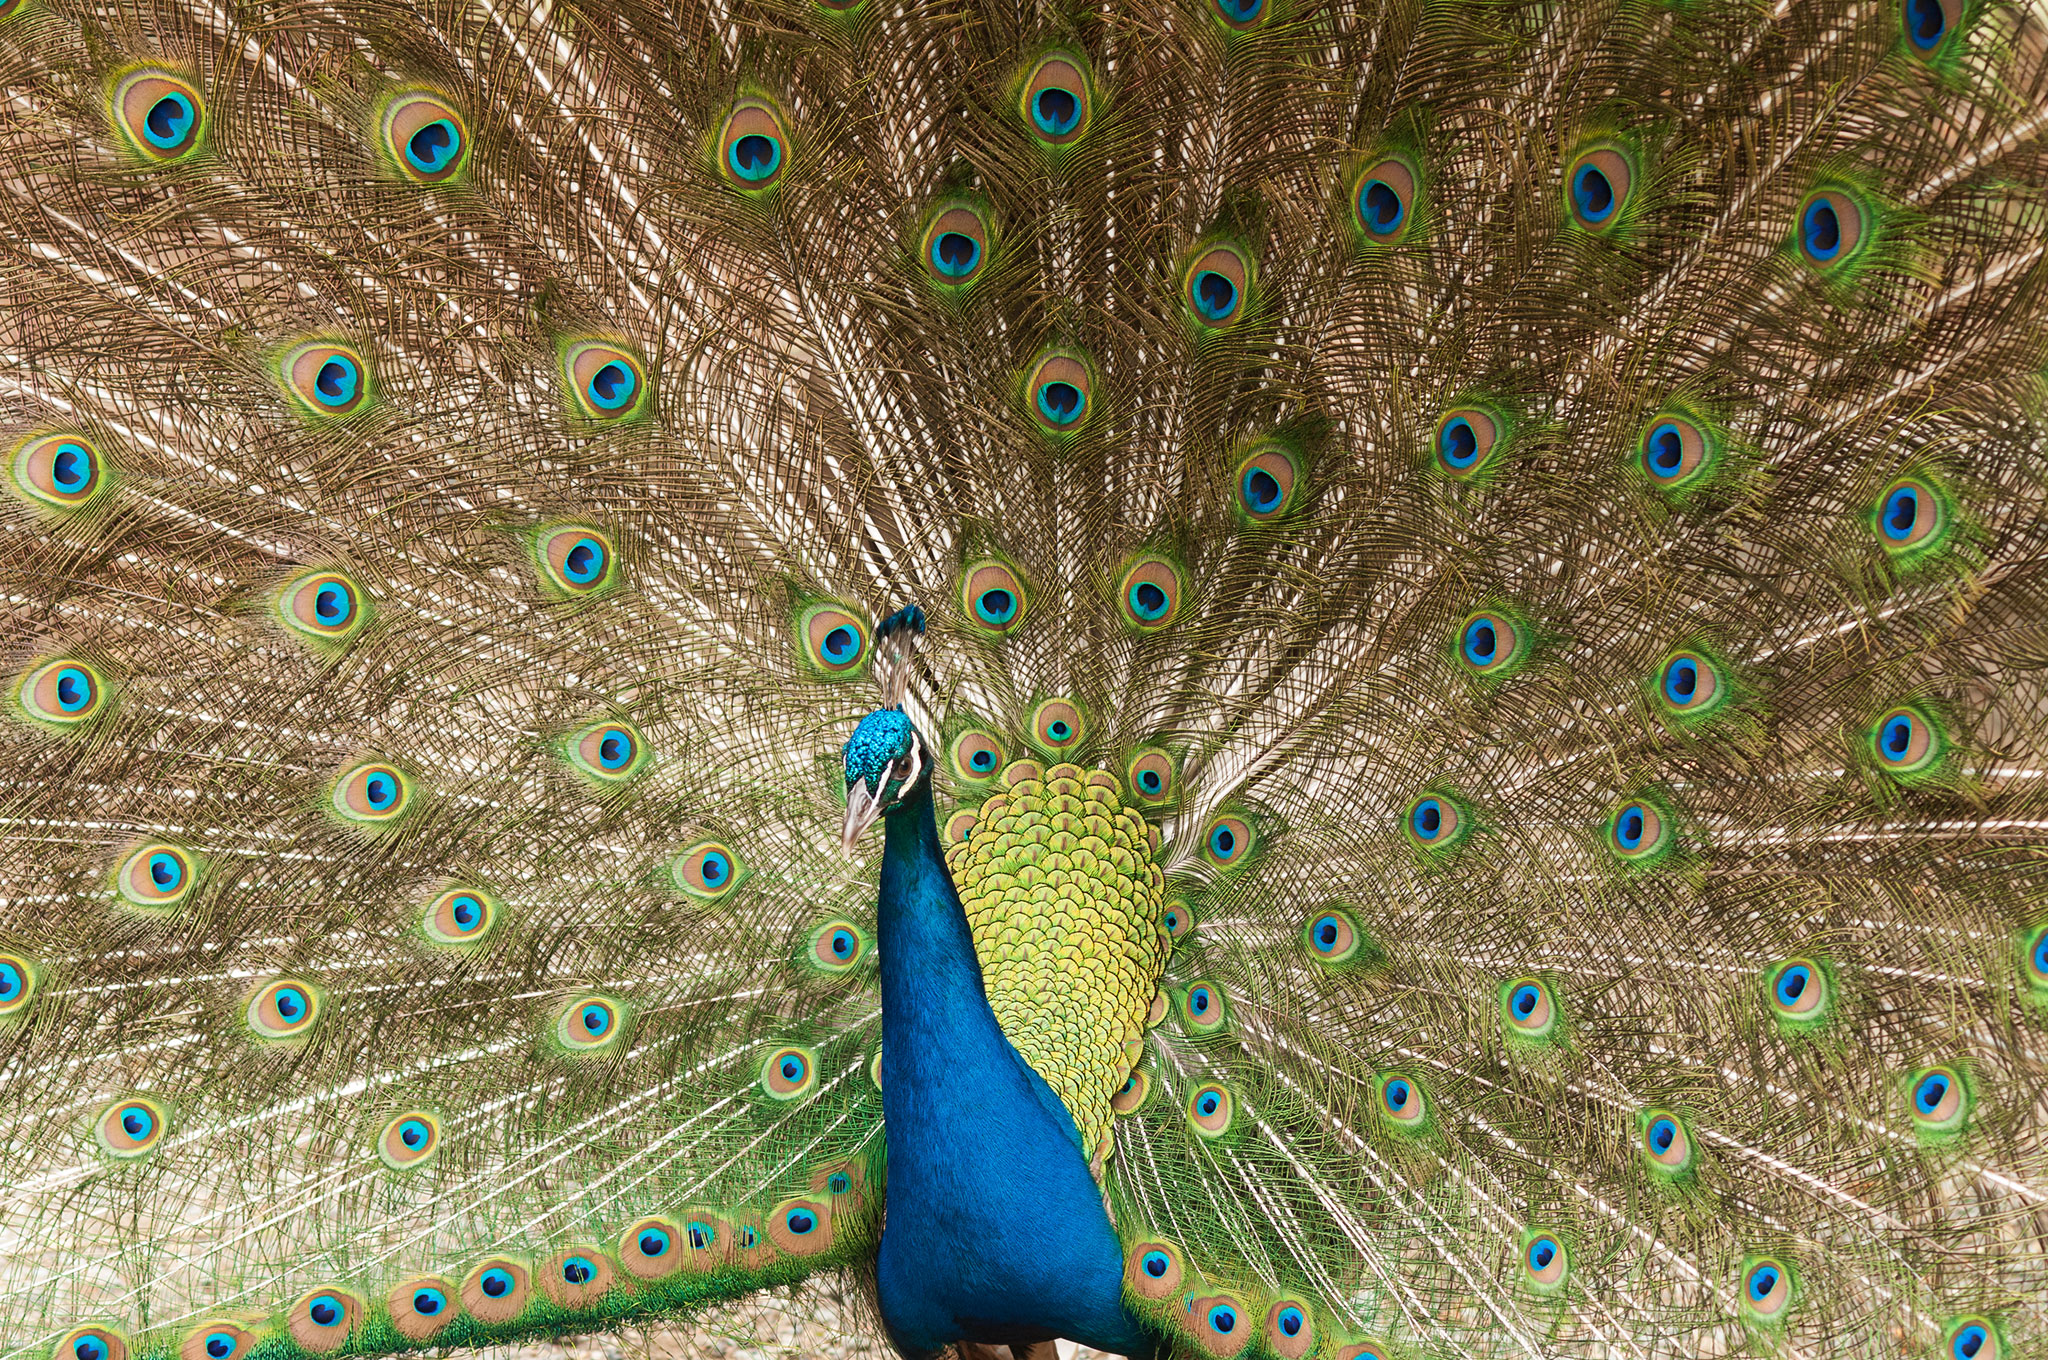
Manual
Nikon D300S, Nikon AF Nikkor 85mm f/1.8D – ISO 400, f/4.5, 1/320 sec.
In Manual mode, the user selects the aperture and shutter speed as desired.
To determine the optimal exposure, refer to the exposure level indicator in the viewfinder or use ab exposure meter.
Set your camera to manual mode by selecting M on your camera.
Manual mode is recommended for full manual control over your exposure.
Setting the Camera Mode
The camera mode dial is typically visible on all entry-level and semi-professional cameras.
It is a large rotational disc with the modes M, A, S and P on Nikon DSLRs and M, Av, Tv and P on Canon DSLRs.
On professional cameras setting the mode dial may vary. Please consult the user manual for your camera for further details.
Exposure Mode Quick Reference
Our handy quick reference guide indicates the aperture and shutter speed settings that your camera will automatically set and those settings that are manually set by the photographer for each camera mode.
| Mode | Aperture | Shutter Speed |
|---|---|---|
| Program (P) | Set by Camera | Set by Camera |
| Shutter-Priority (S) or (Tv) | Set by Camera | Set by User |
| Aperture-Priority (A) or (Av) | Set by User | Set by Camera |
| Manual (M) | Set by User | Set by User |
Additional Modes
Most entry-level and semi-professional cameras have additional automatic camera modes:
1. Auto
2. Portrait
3. Landscape
4. Close-up
5. Sports
6. Night
These special camera modes are simply additional modes with specific settings suitable for different environments and subjects.
These additional settings are recommended for beginners only. They are not present on professional cameras and should not be relied upon for learning and advancing your photography skills.
Auto Mode
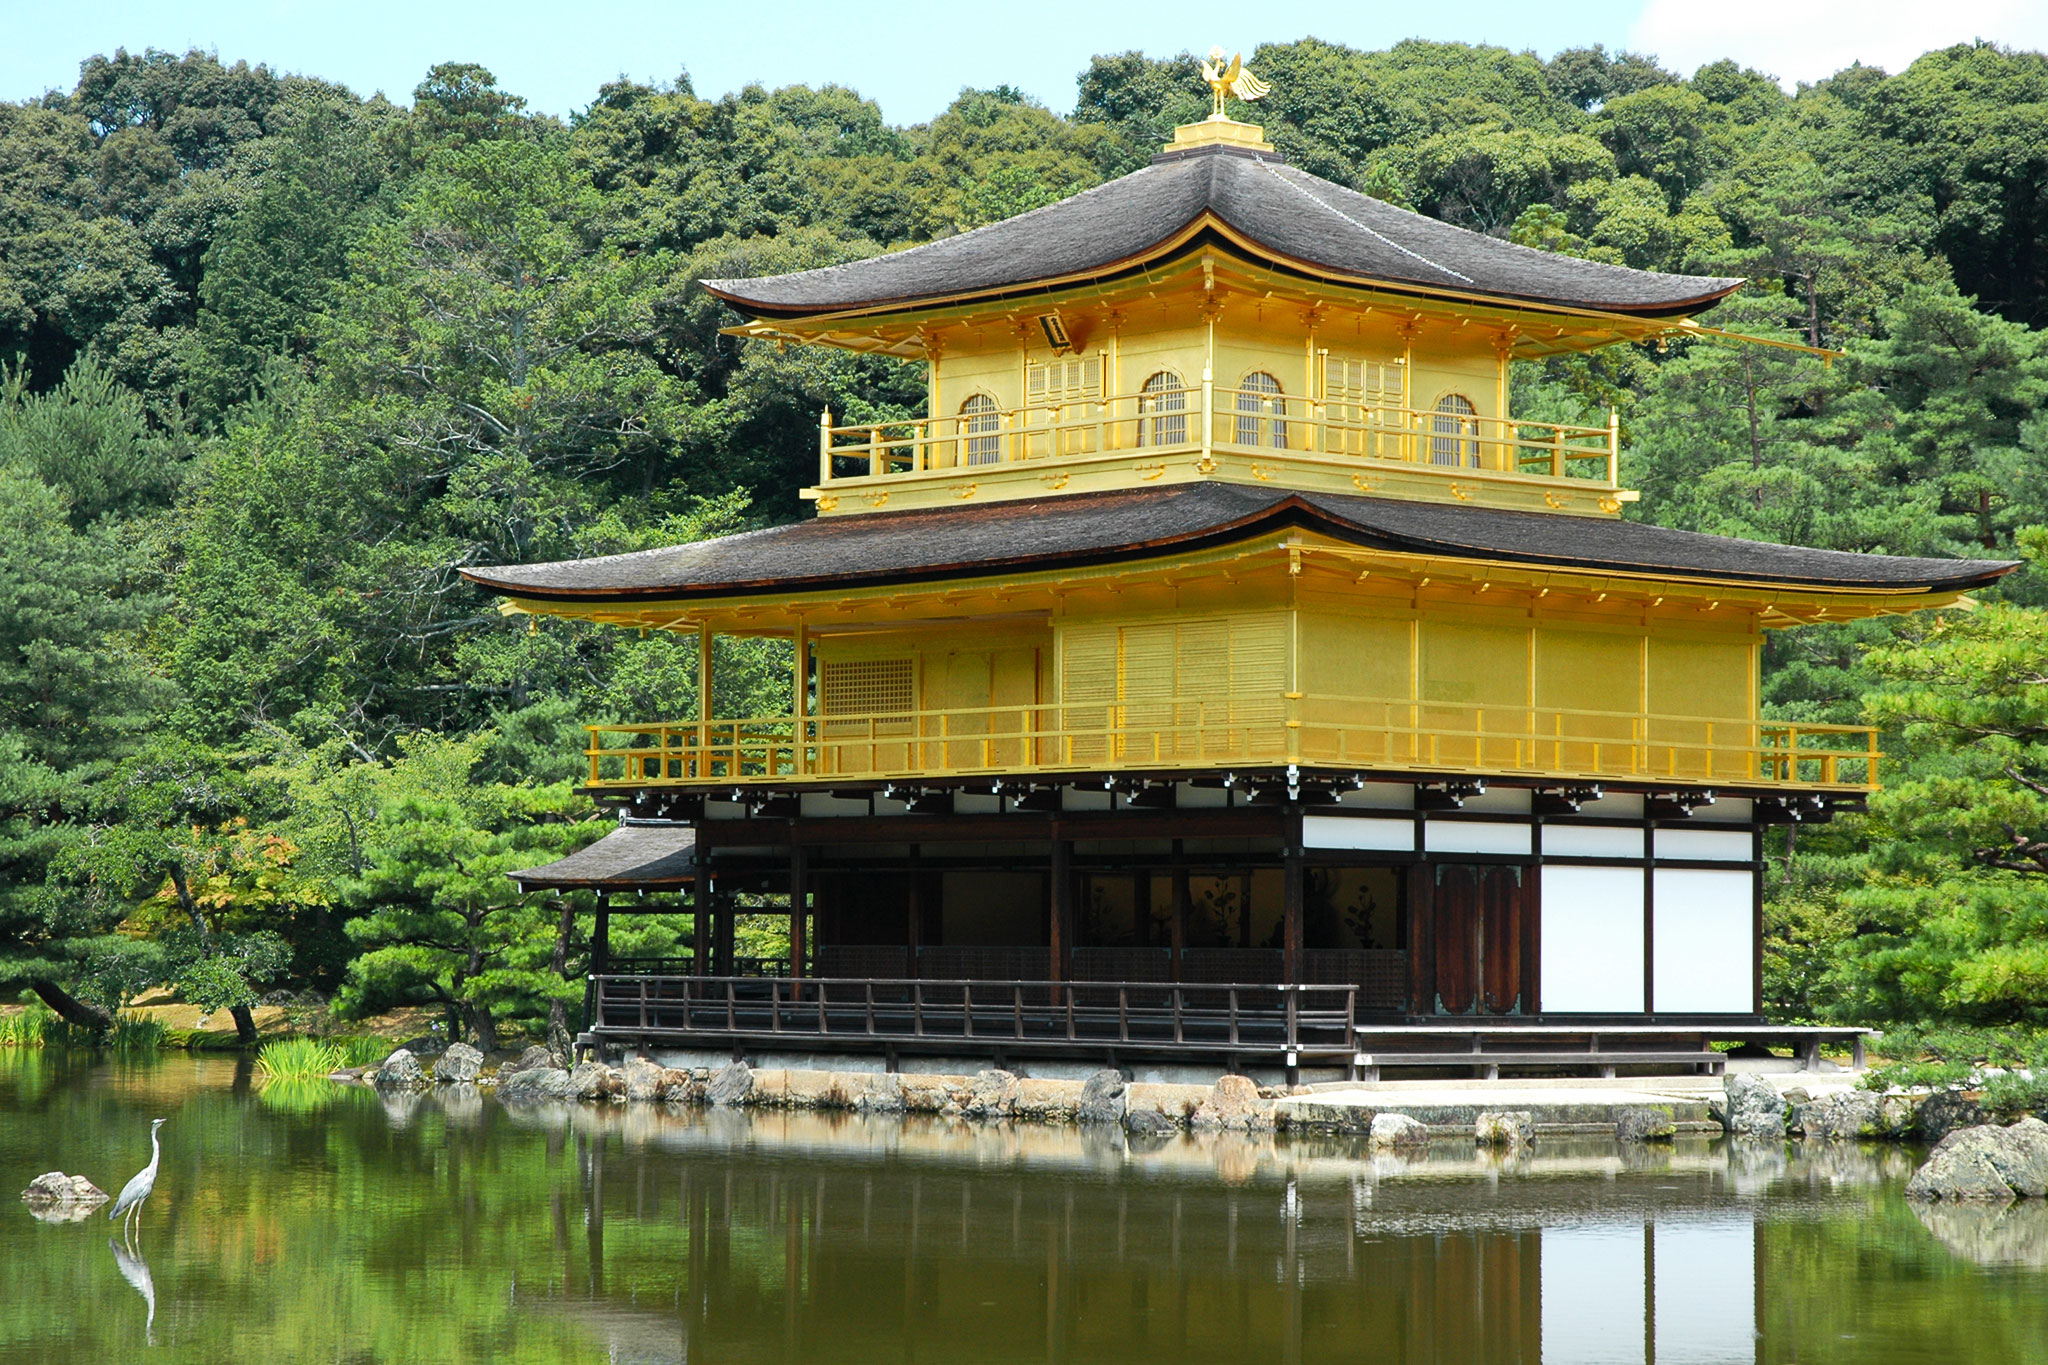
Auto
Nikon D70, Nikon AF-S Nikkor 18-70mm f/3.5-4.5 G IF-ED DX at 55mm – ISO 200, f/8, 1/250 sec.
In full automatic mode, the camera automatically sets all the settings for the optimal exposure. The camera sets the shutter speed, aperture, ISO, white balance, focus and flash.
Auto mode is identified by AUTO or A+, sometimes with a camera icon.
The auto setting can be used for point-and-shoot snapshots and will provide good results in many shooting conditions, however it’s important to remember that the camera is calculating the best settings given its limited information about the subject, environment and your creative goals.
Portrait Mode
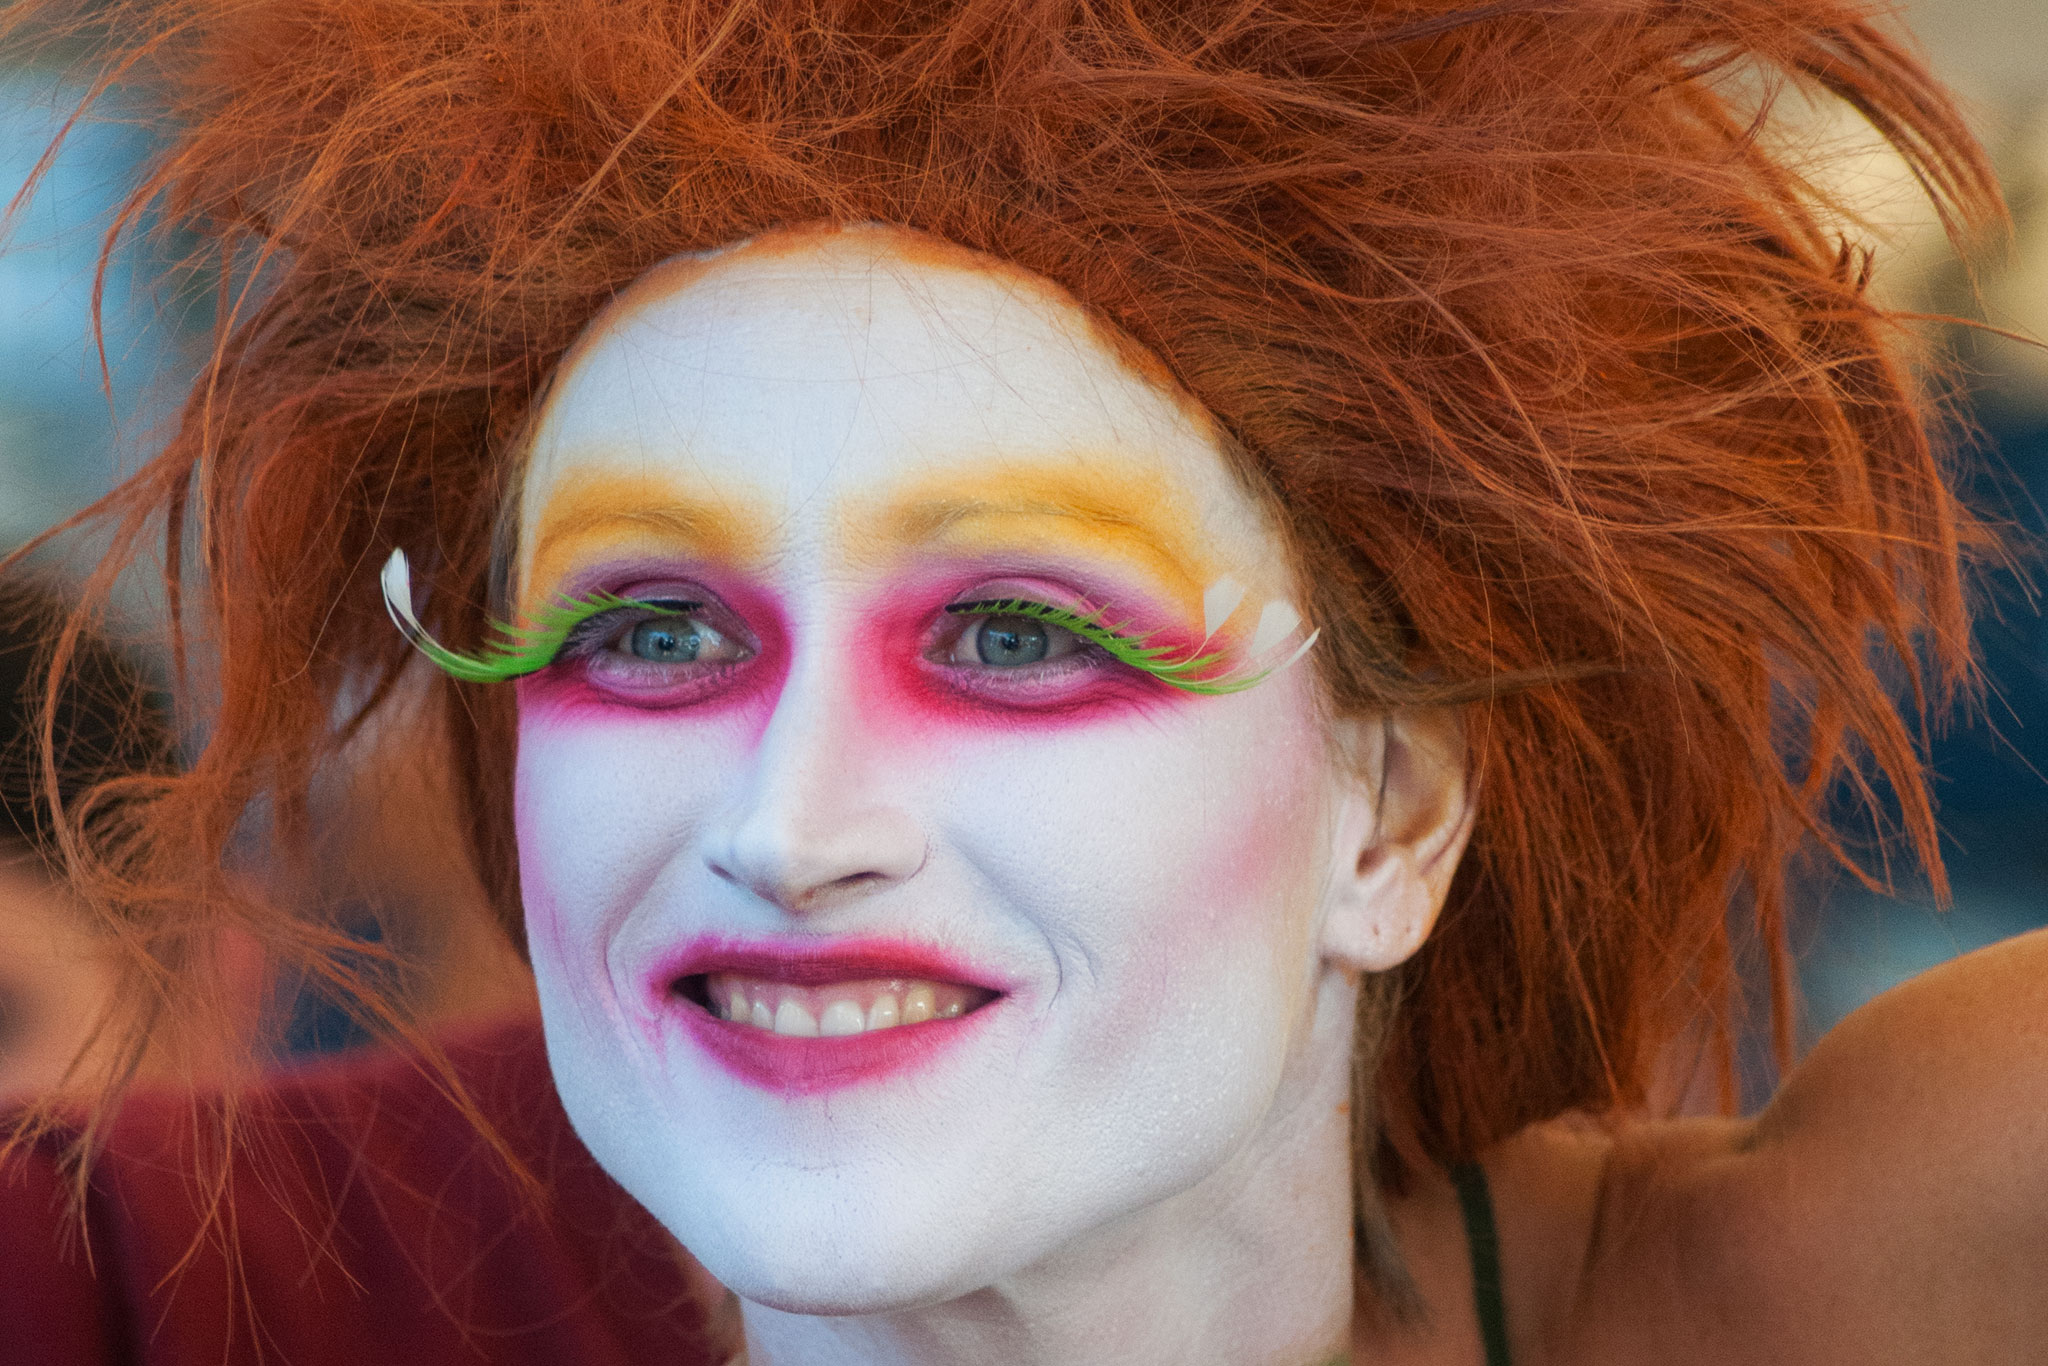
Portrait
Nikon D300S, Nikon AF-S Nikkor 70-300mm f/4-5.6D at 122mm – ISO 800, f/4.5, 1/500 sec.
In portrait mode, the camera automatically sets the optimal settings for a portrait subject. Typically, the camera will select a larger aperture (lower f/number) that will make the background fall out of focus and give a narrow depth of field, ensuring that the subject is in focus and stands out.
Portrait mode is identified by an icon of the side profile of a woman, sometimes wearing a hat.
The portrait setting can be used for capturing a single person, animal or object as the main subject. Fill most of the frame with the subject by stepping in closer or zooming in towards the subject. To reduce shadows, a flash can be used for balanced lighting.
Landscape Mode
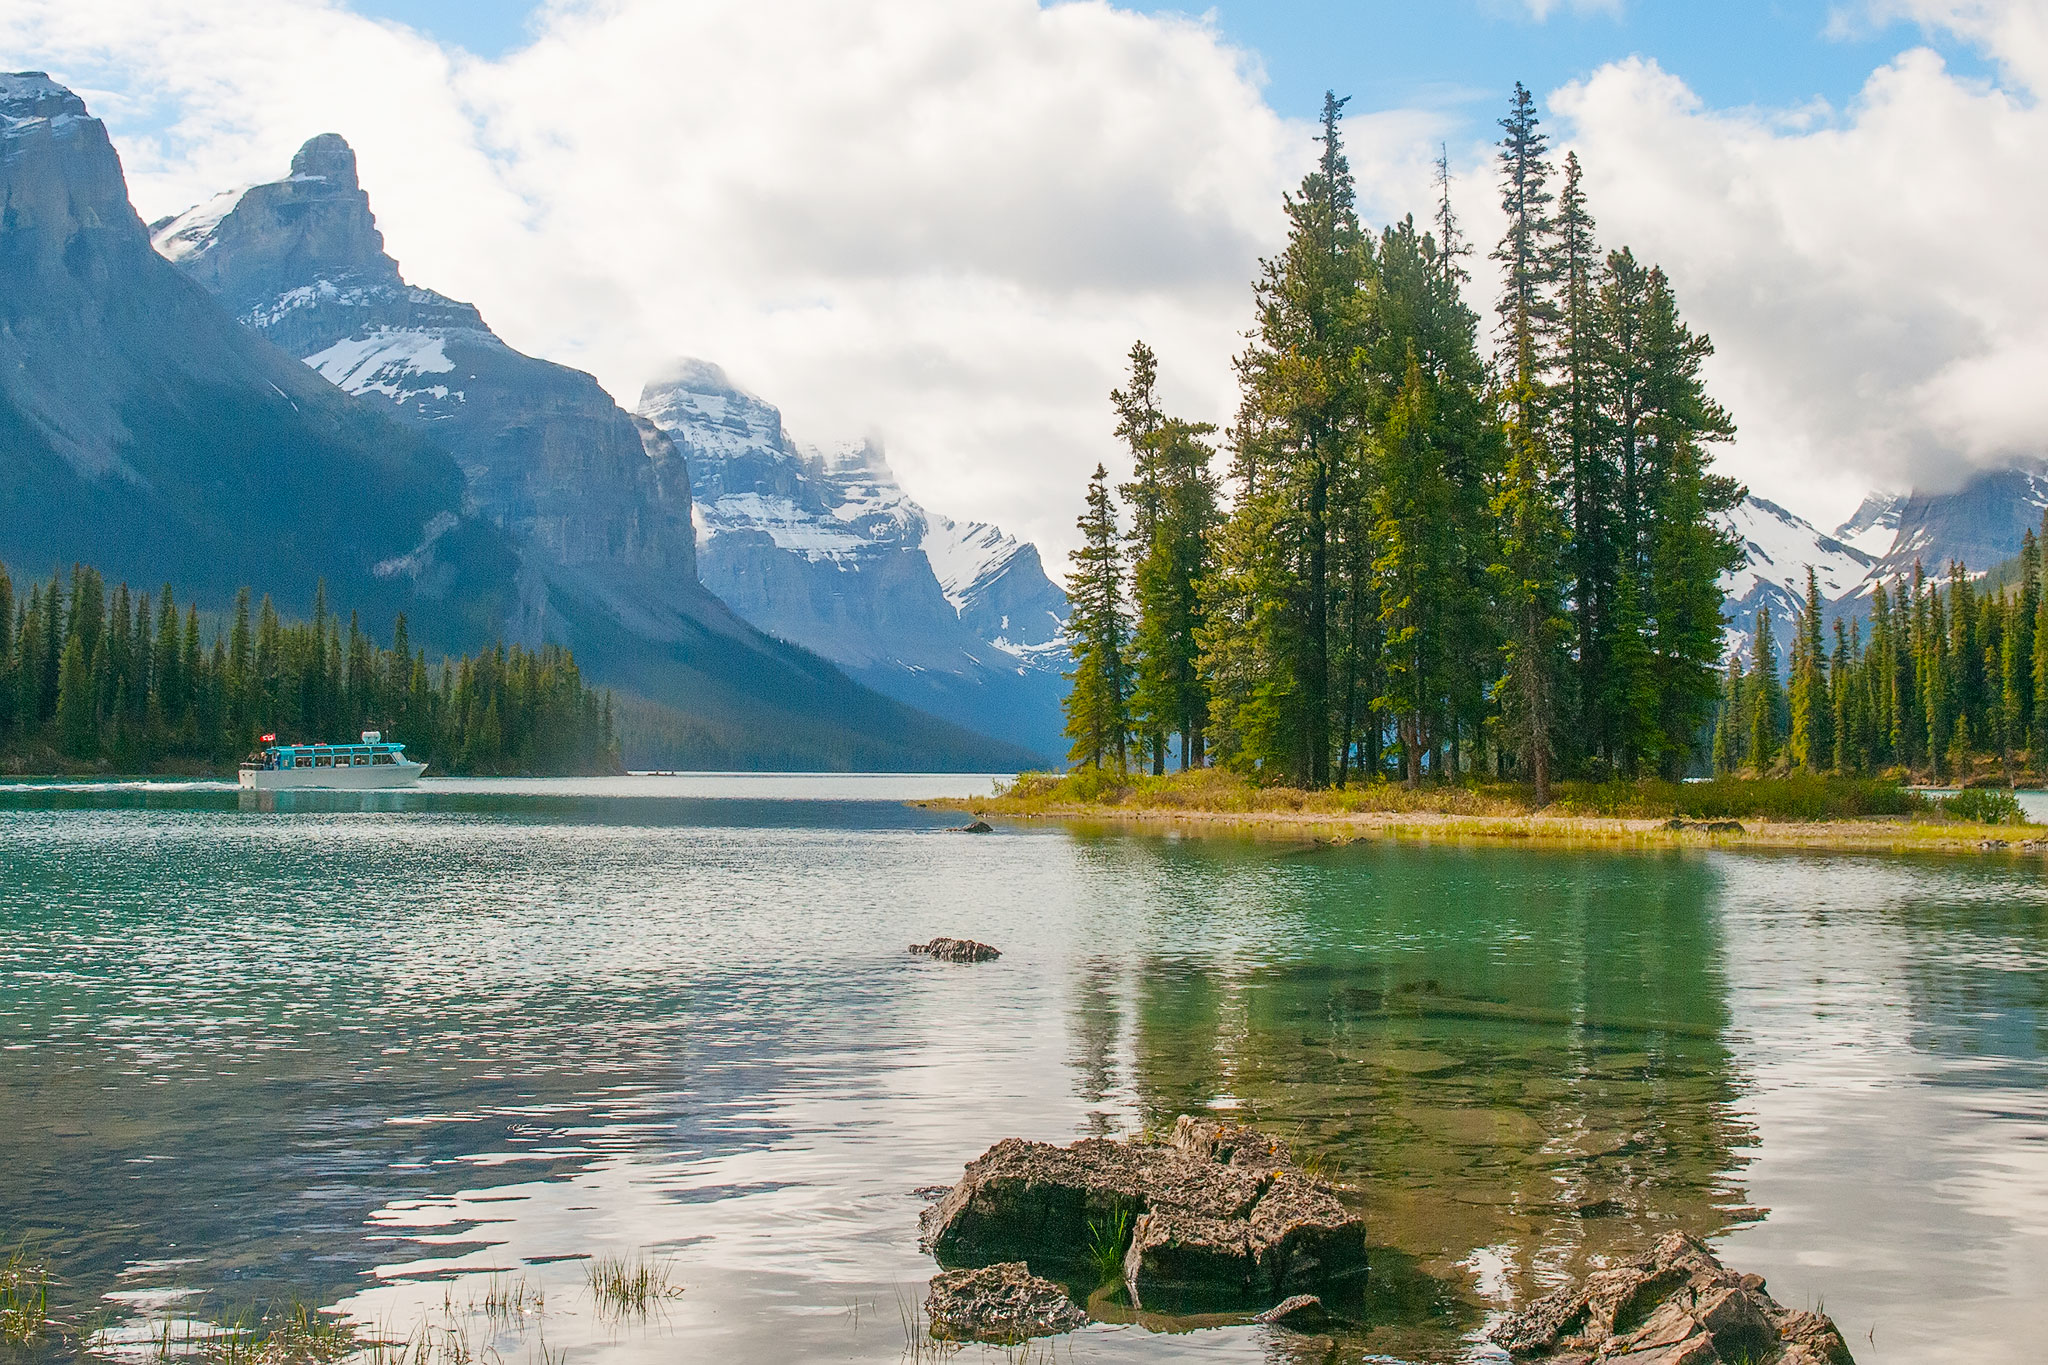
Landscape
Nikon D300S, Nikon AF-S Nikkor 17-55mm f/2.8 G DX IF ED at 24mm – ISO 400, f/10, 1/1250 sec.
Almost the opposite of portrait, in landscape mode, the camera automatically sets the optimal settings of a landscape subject. Typically, the camera will select a smaller aperture (higher f/number) that will make more of the foreground and background fall into focus and give a wider depth of field, ensuring that as much of the scene is in focus as possible.
Landscape mode is identified by a framed icon of mountains.
The landscape setting can be used to capture wide shots of cityscapes and landscapes for more of the foreground and background in focus. If your camera selects a slow shutter speed when you’re using landscape, you may need to use a tripod to keep the camera still and ensure a completely sharp image.
Close-up Mode
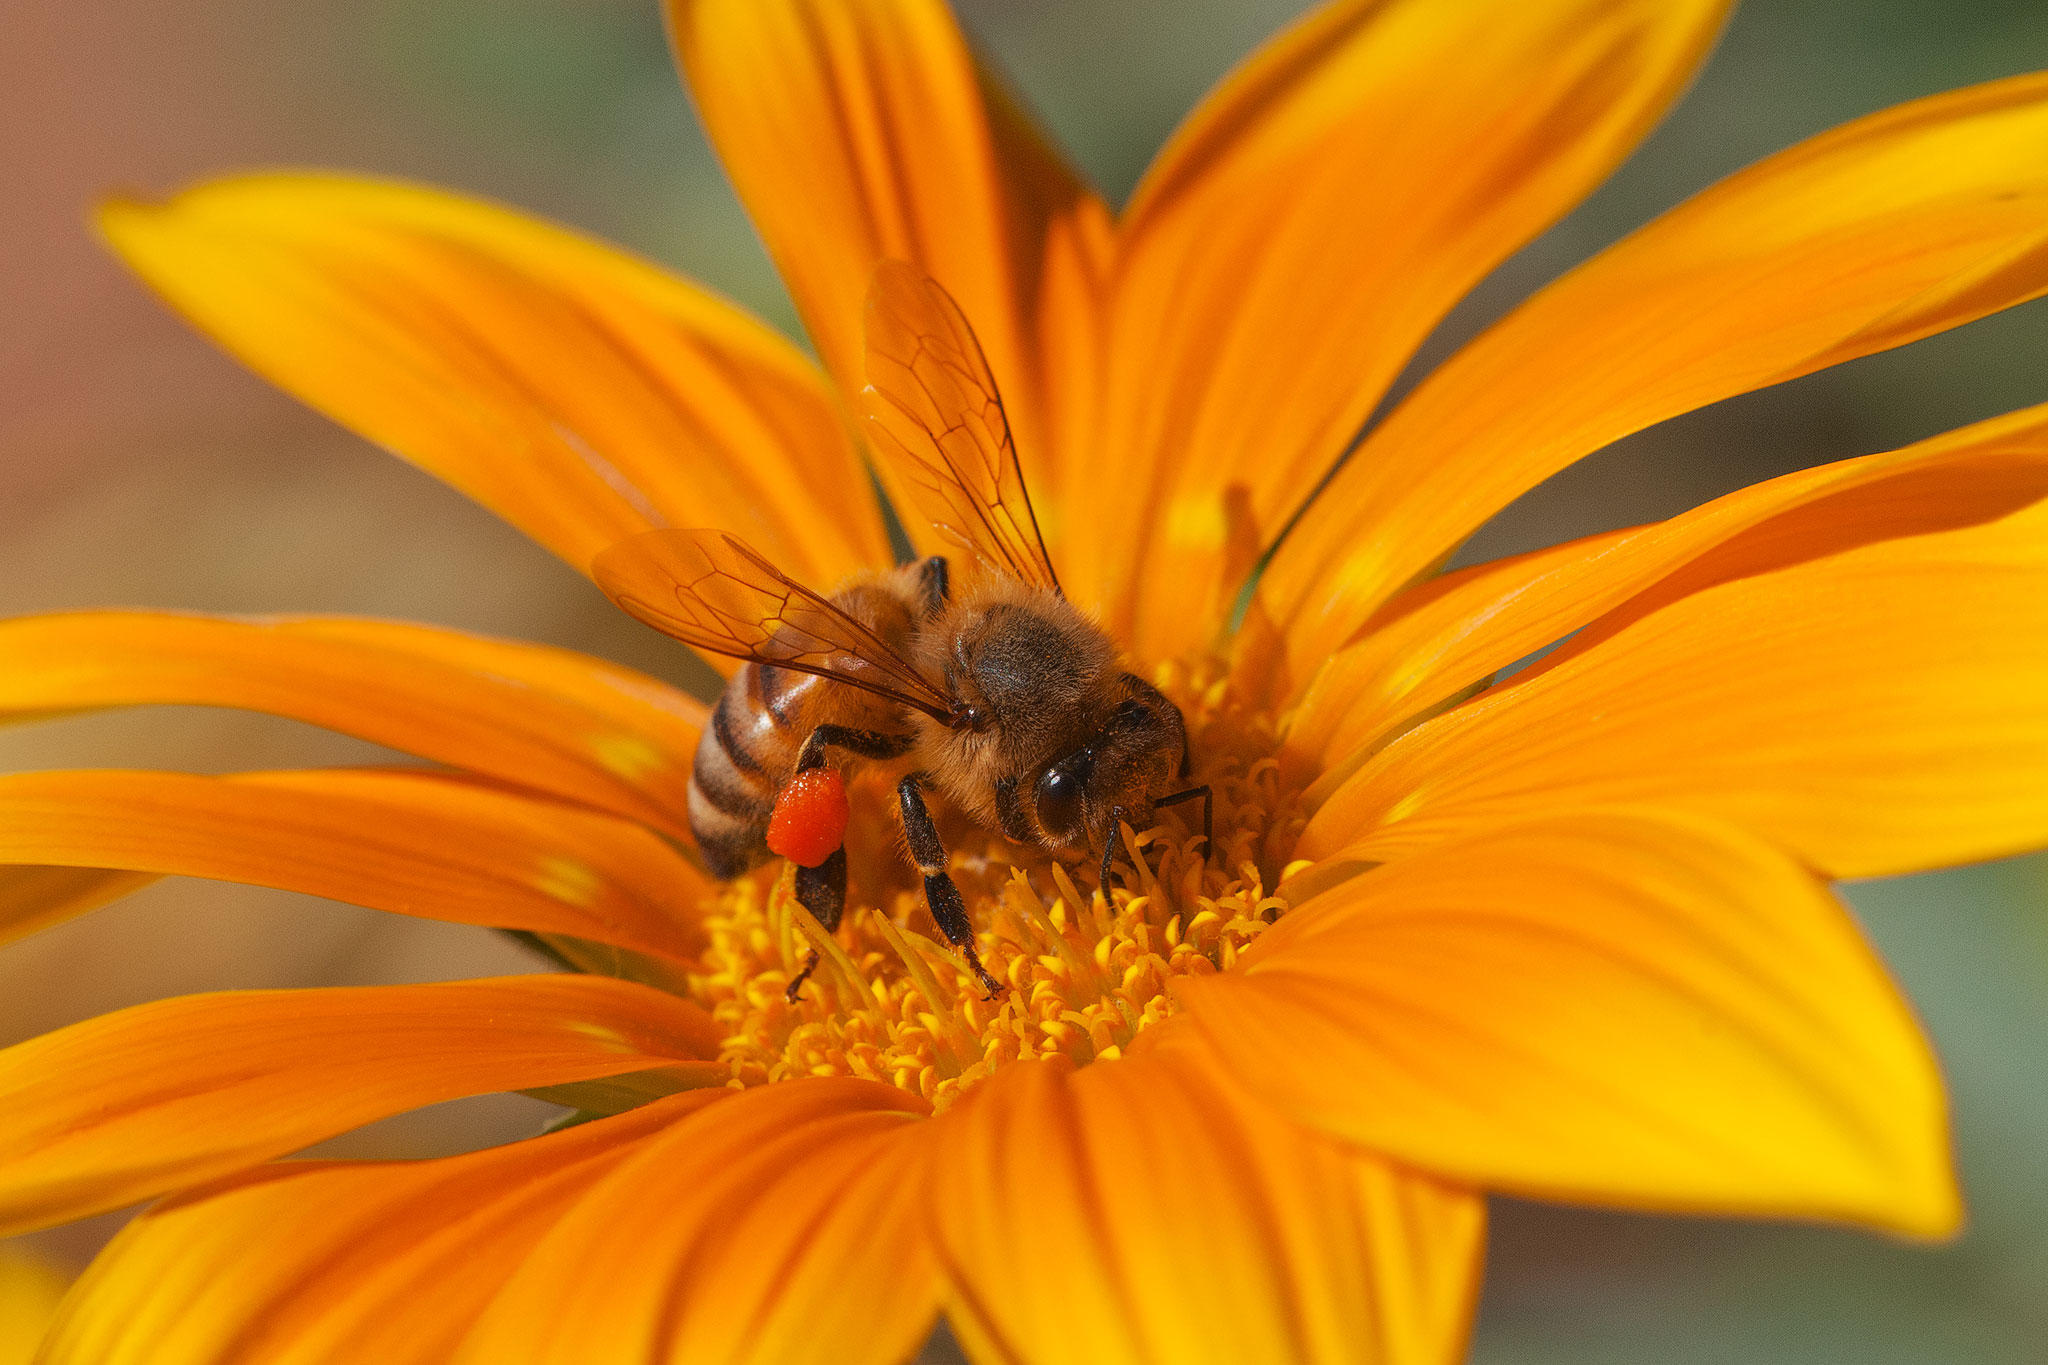
Close-up
Nikon D300S, Nikon AF Micro Nikkor 200mm f/4D IF-ED – ISO 400, f/13, 1/640 sec.
In close-up mode, the camera automatically sets the optimal settings to move closer into your subject for a close-up picture. Different cameras will have varying capabilities and focus distance limitations when you’re shooting on macro.
Close-up mode is identified by a flower icon and is sometimes also called Macro mode.
The close-up setting can be used for capturing flowers, insects, and other small objects. In macro mode, focusing is more difficult at short distances, as the depth of field is narrow. Using a tripod will help stabilise your camera and provide a sharper image in this instance.
Sports Mode
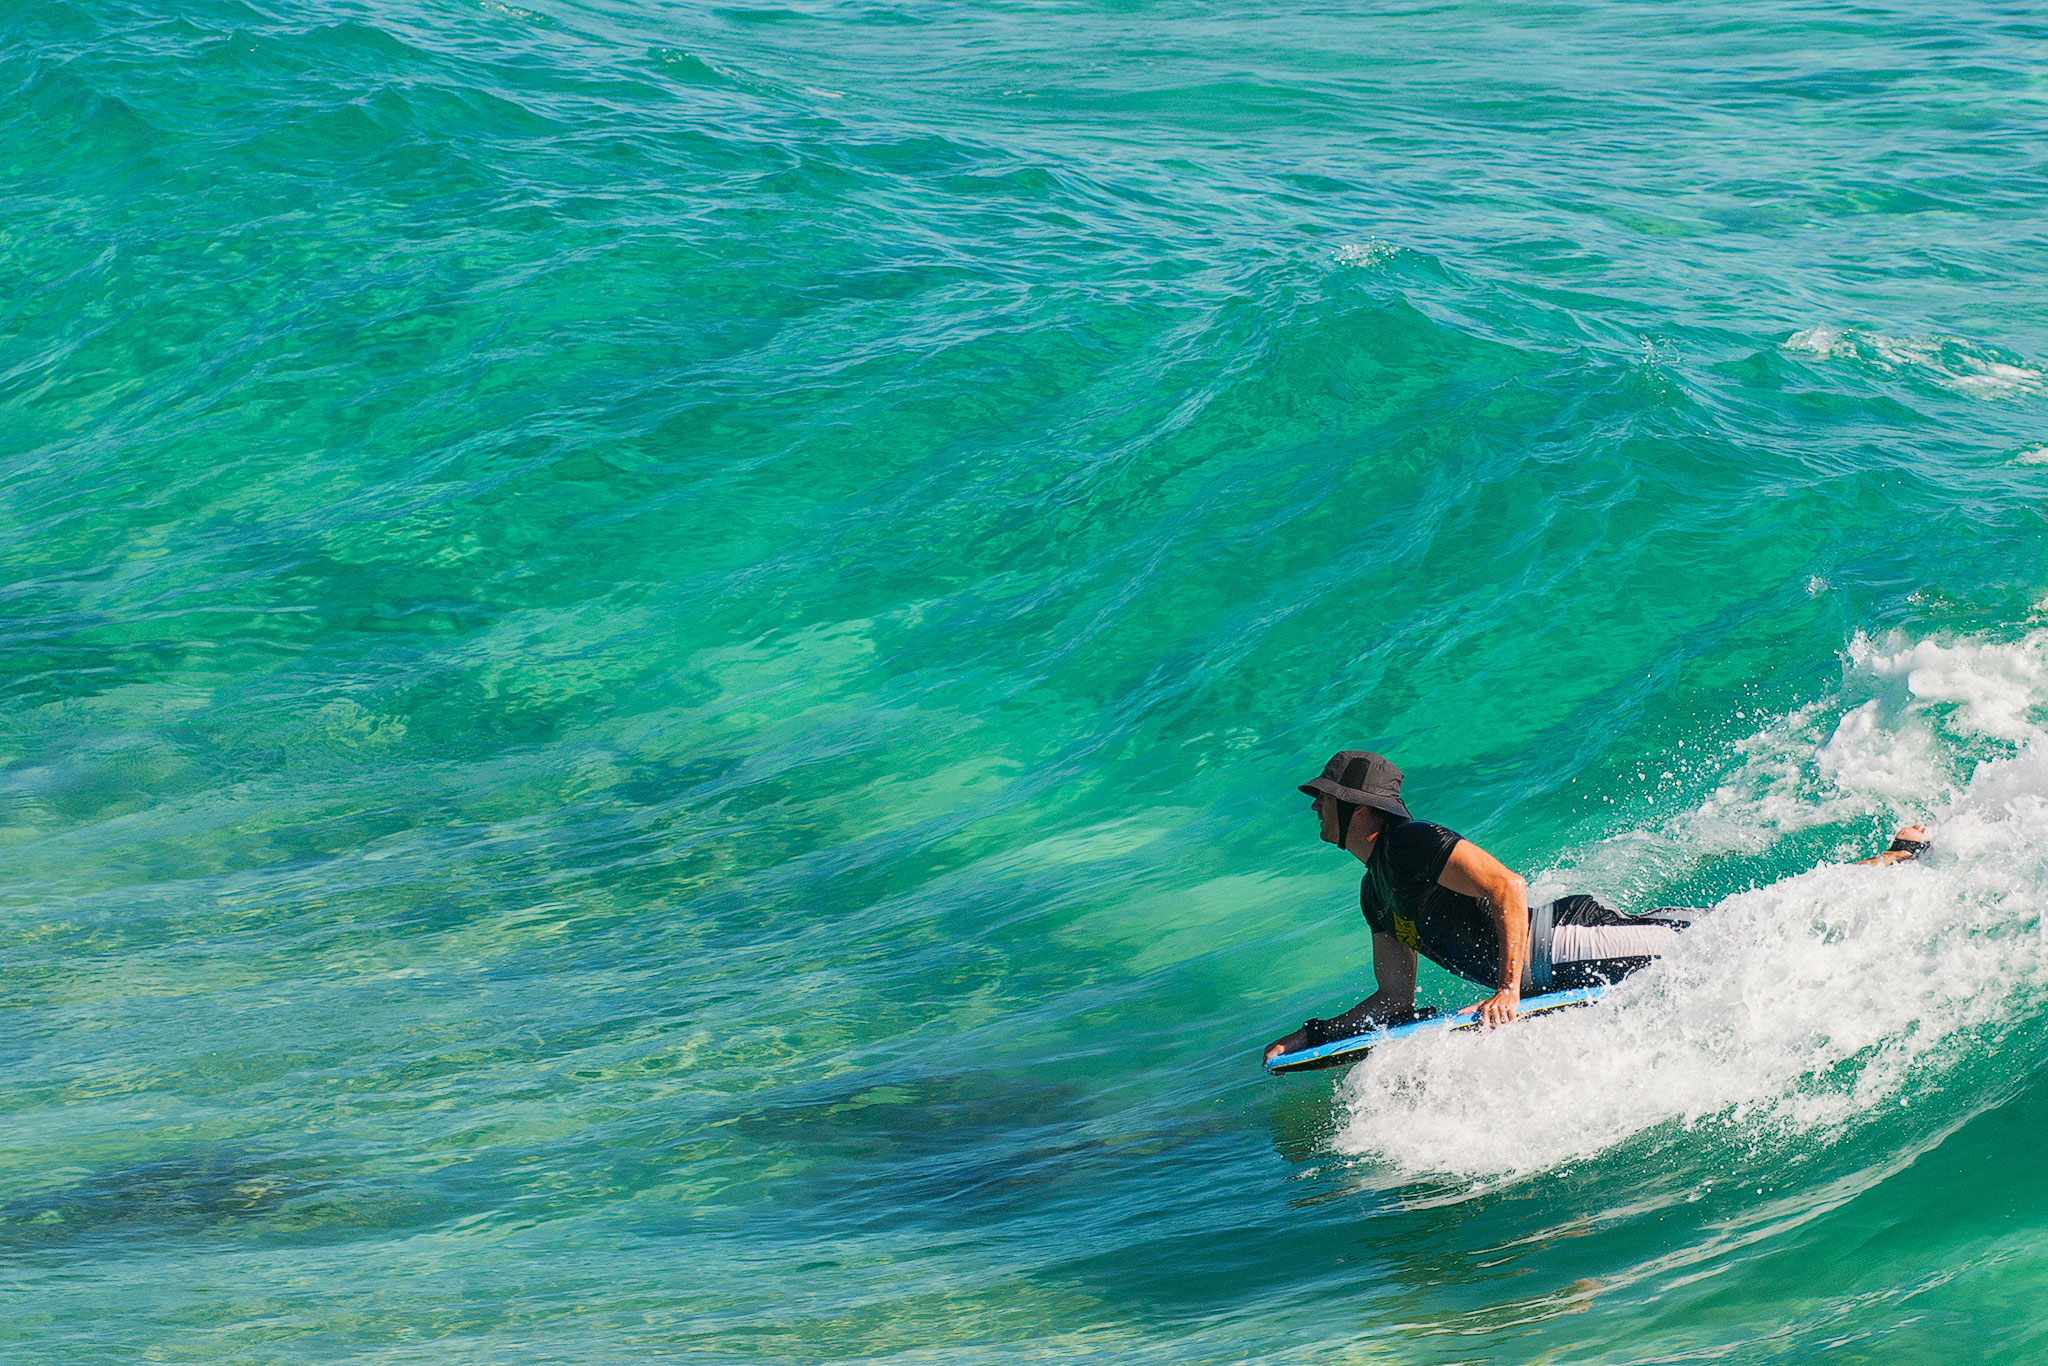
Sports
Nikon D300S, Nikon AF-S Nikkor 70-200mm f/2.8G ED VR II at 165mm – ISO 160, f/5.6, 1/1000 sec.
In sports mode, the camera automatically sets the optimal settings for a moving subject. Typically, the camera will select a faster shutter speed to freeze the action.
Sports mode is identified by an athlete icon and is sometimes also called Action mode.
The sports setting can be used to capture any moving objects, including people, sports, cars, animals, birds, etc. To improve your chances of capturing fast moving subjects, try panning your camera along with the subject’s movement or frame and focus in advance of the subject.
Night Mode
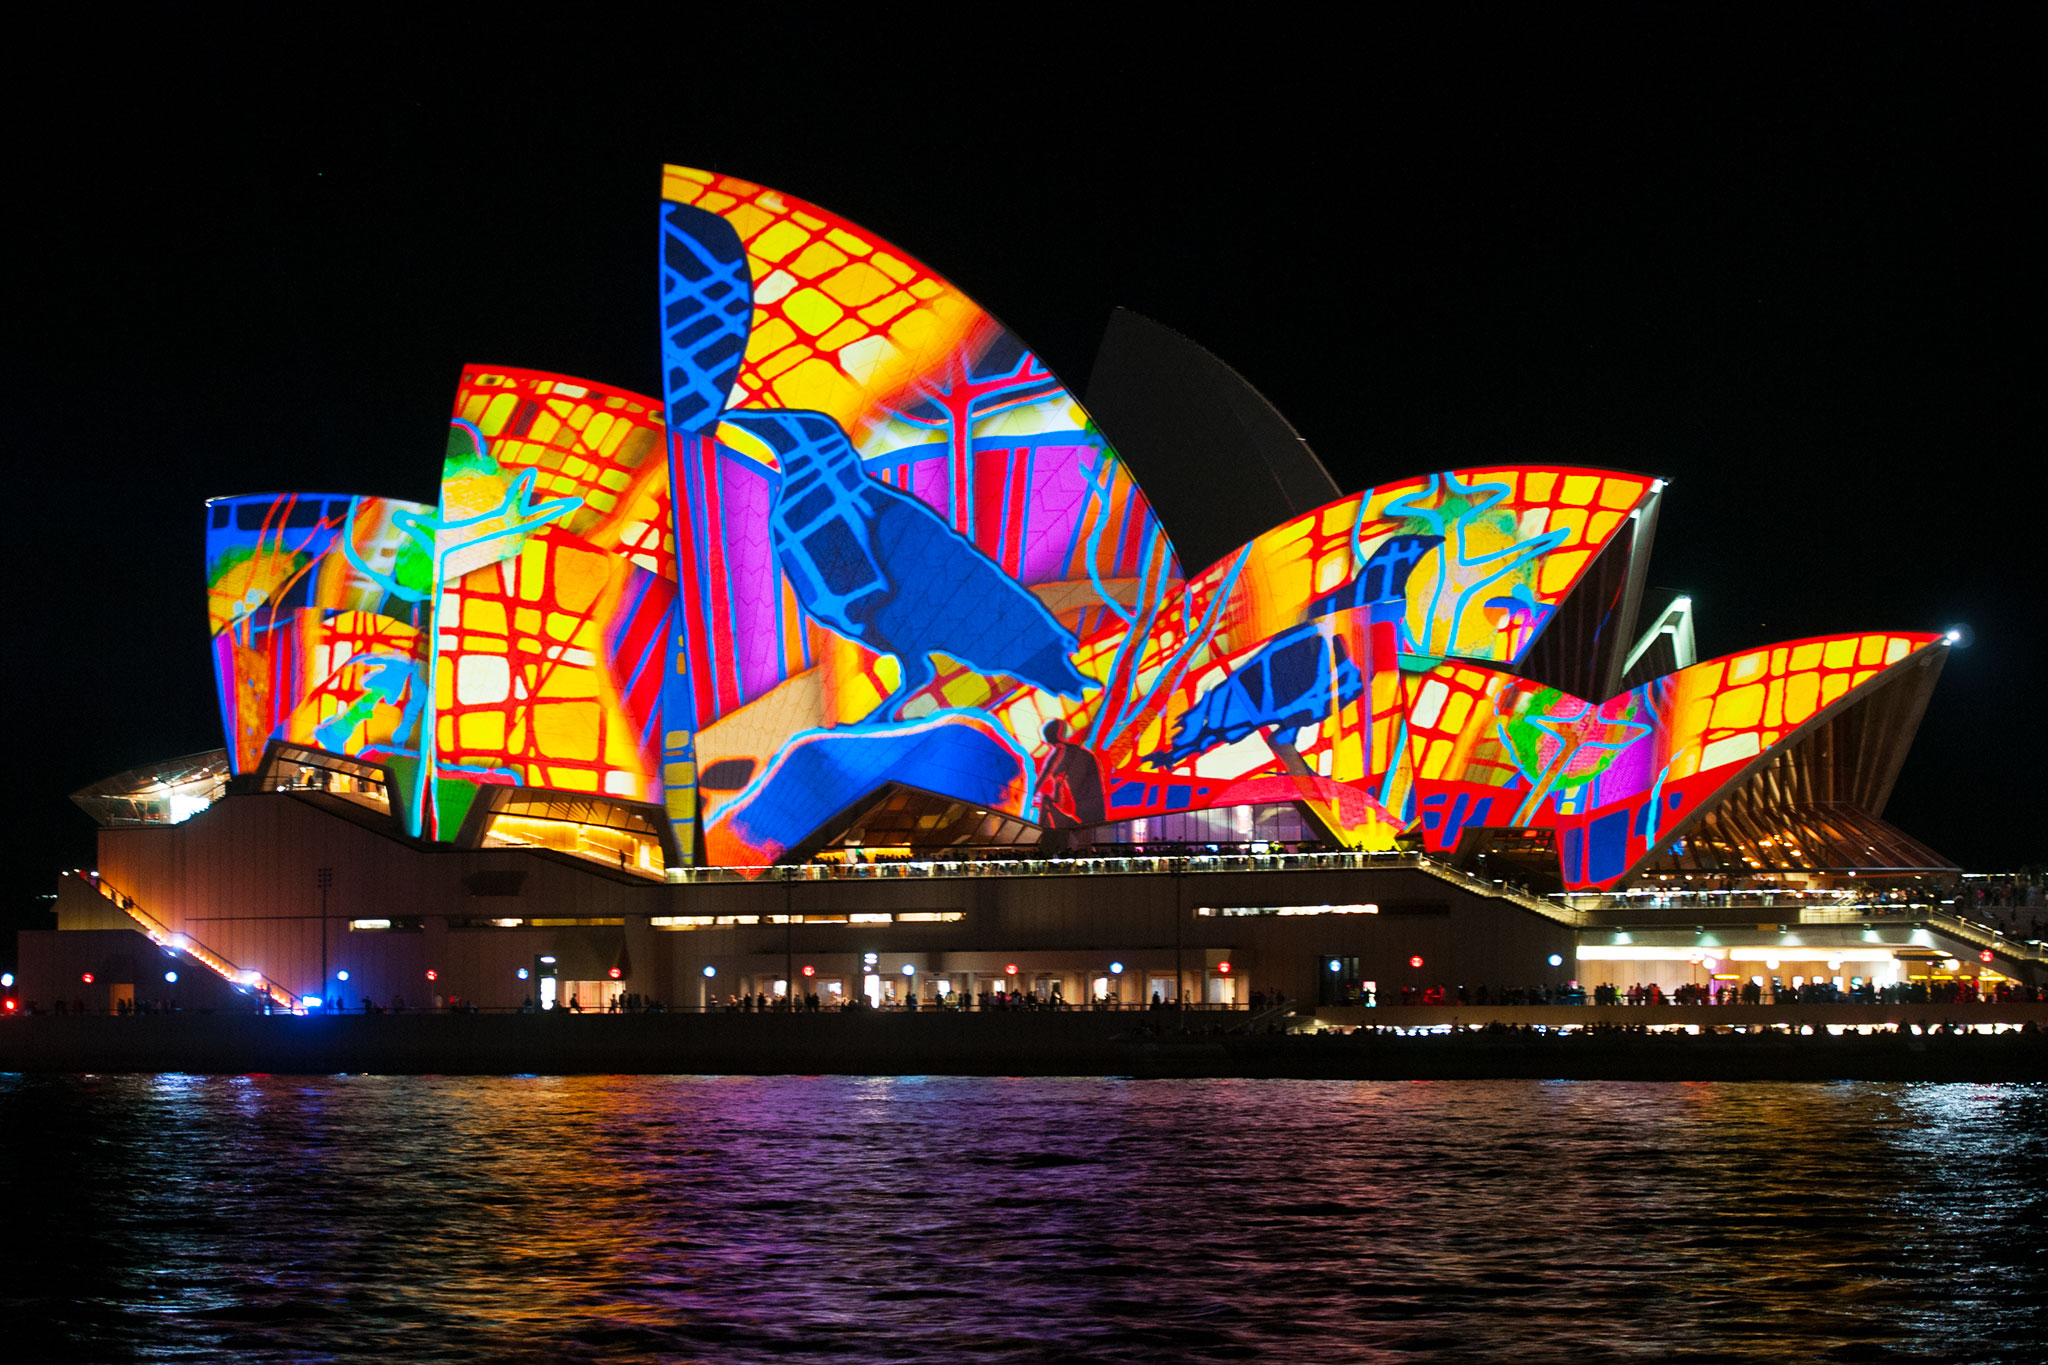
Night
Nikon D300S, Nikon AF-S Nikkor 70-200mm f/2.8G ED VR II @ 75mm – ISO 500, f/2.8, 1/4 sec.
In night mode, the camera automatically sets the optimal settings for low light environments. Typically, the camera will select a longer shutter speed to capture detail.
Night mode is identified by a framed icon of a person beneath a star.
The night setting can be used for capturing subject at night time or low light situations. Use a tripod to keep the camera still for a sharper image.
